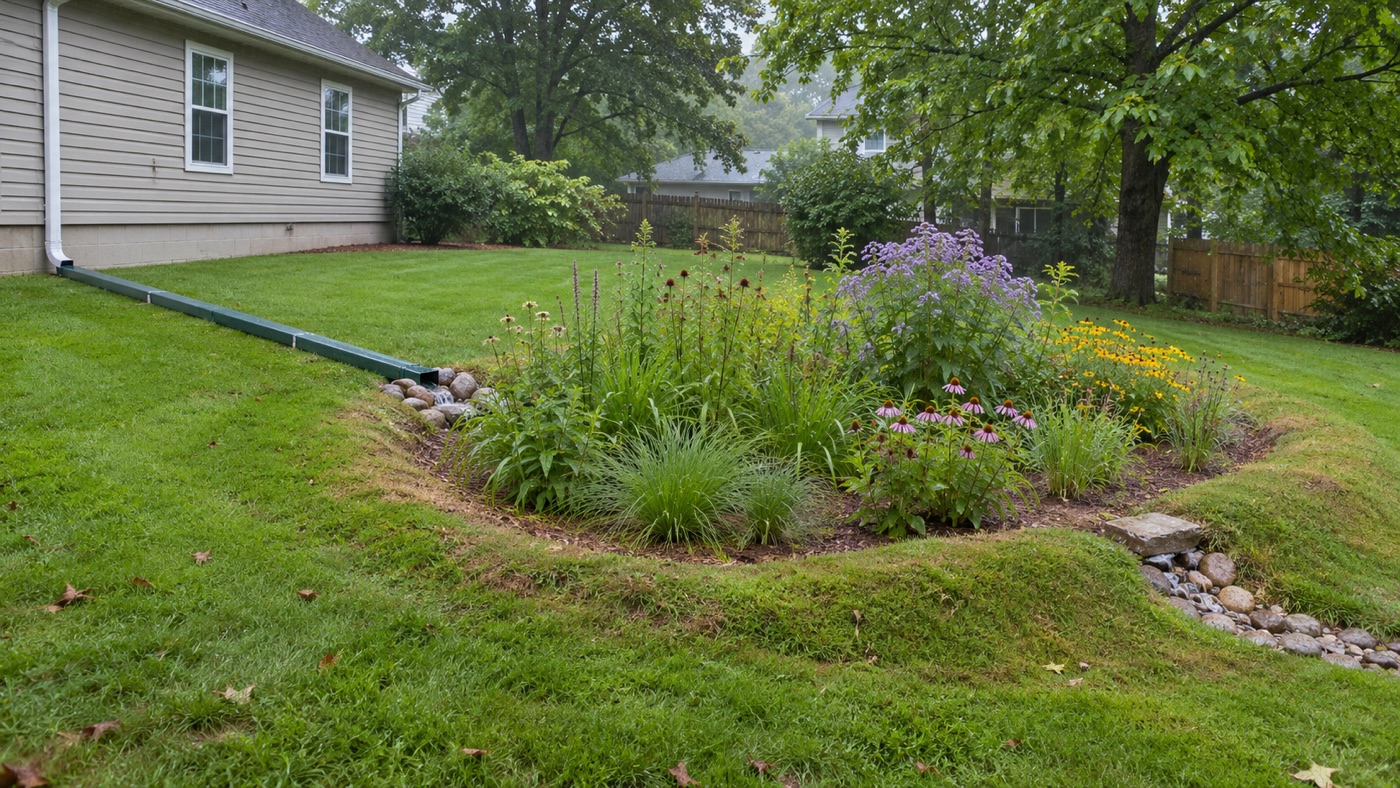
To size a rain garden, first measure only the roof, driveway or patio area that will actually drain into it. Then choose the local design storm, convert that runoff to cubic feet, and divide by the garden’s usable ponding depth. That calculation creates a screening footprint—not a universal final design. Soil infiltration, slope, setbacks, groundwater, overflow and local stormwater rules can all require a larger garden, several smaller gardens or professional design.
This guide shows how to size a rain garden for a typical residential downspout using transparent math. It also explains why a percentage rule such as “make it 10% of the roof” can be reasonable in one yard and seriously undersized in another.
How to size a rain garden in six steps
- Confirm that the site is suitable. Check foundations, utilities, wells, septic systems, steep slopes, groundwater, bedrock and the direction of emergency overflow; use our unsafe rain garden location checklist before proceeding.
- Measure the contributing drainage area. Count only surfaces whose water will reach this garden.
- Select the design storm. Use the rainfall depth required by your municipality, watershed district or local rain-garden manual.
- Calculate runoff volume. Convert rainfall depth to feet and multiply by the impervious drainage area.
- Choose a practical ponding depth. Use the level storage depth below the overflow—not total excavation depth.
- Check infiltration and overflow. Confirm that the basin will drain within the locally required time and that larger storms can leave without damaging buildings, slopes or neighboring property.
Do not start with plant selection. A beautiful planting cannot compensate for a basin that receives the wrong drainage area, sits beside a foundation or has nowhere safe to overflow.
Step 1: screen the site before doing any rain garden sizing
A rain garden is a shallow planted basin for suitable stormwater runoff. It is not a permanent pond, a wetland replacement or a cure for water entering a basement. The U.S. Environmental Protection Agency describes rain gardens as depressions that collect runoff from roofs, driveways or streets and allow it to soak into the ground.
Many homeowner guides use a minimum 10-foot setback from buildings, but local requirements differ. University of Minnesota Extension also identifies separate distances for septic drain fields and drinking-water wells. Oregon State University guidance adds checks for property lines, underground pipes, steep downgradient slopes, groundwater and bedrock. Therefore, a single national setback table would be misleading.
| Site question | Why it matters | Action before sizing |
|---|---|---|
| Can water move away from every building? | An undersized or blocked basin must not back water toward a foundation. | Map the overflow route during a heavy storm. |
| Is the location outside septic, well and utility setbacks? | Infiltration can interfere with wastewater systems, water supplies or buried services. | Check local codes and call 811 before digging. |
| Is the seasonal water table or bedrock too close? | There may be too little soil for safe infiltration and treatment. | Use local vertical-separation criteria; seek qualified design where uncertain. |
| Is the site a wetland, floodplain or persistently wet area? | A rain garden is meant to drain between storms. | Do not excavate until the site and regulatory status are confirmed. |
| Will overflow cross a property line, sidewalk or unstable slope? | Concentrated runoff can cause erosion, icing or damage downstream. | Choose a lawful, stabilized overflow location. |
If the problem is persistent groundwater, a hillside seep or water that must be conveyed to a lawful outlet, compare a rain garden vs. French drain before continuing. If water is reaching a basement or crawl space, start with gutters, downspouts, grading and a qualified drainage or foundation professional.
Step 2: measure the drainage area that really reaches the garden
The drainage area is not automatically the whole roof or lot. It is the plan-view area that sends runoff to the selected inlet. A roof with gutters at four corners may divide rainfall among four downspouts. If only one downspout is connected, measure the roof section feeding that downspout.
For a simple rectangle, multiply length by width. Add the contributing parts of an L-shaped roof separately. Measure a driveway, patio or walkway the same way, but only include the portion that slopes toward the rain garden. Observe at least one real storm because grading, gutter partitions and low spots often defeat assumptions made from a satellite image.
| Surface | How to measure it | Common mistake |
|---|---|---|
| Roof | Use the horizontal footprint feeding the connected downspout, not the sloped roof surface. | Counting the entire house when the gutter divides flow among several downspouts. |
| Driveway or patio | Multiply contributing length by width; split irregular shapes into rectangles. | Including pavement that actually drains to the street or another low point. |
| Compacted lawn | Trace the upslope area that produces visible runoff during rain. | Treating lawn like a roof even though runoff varies with soil, slope and saturation. |
| Several sources | Add only the areas routed to the same inlet. | Combining sources without checking inlet erosion or overflow capacity. |
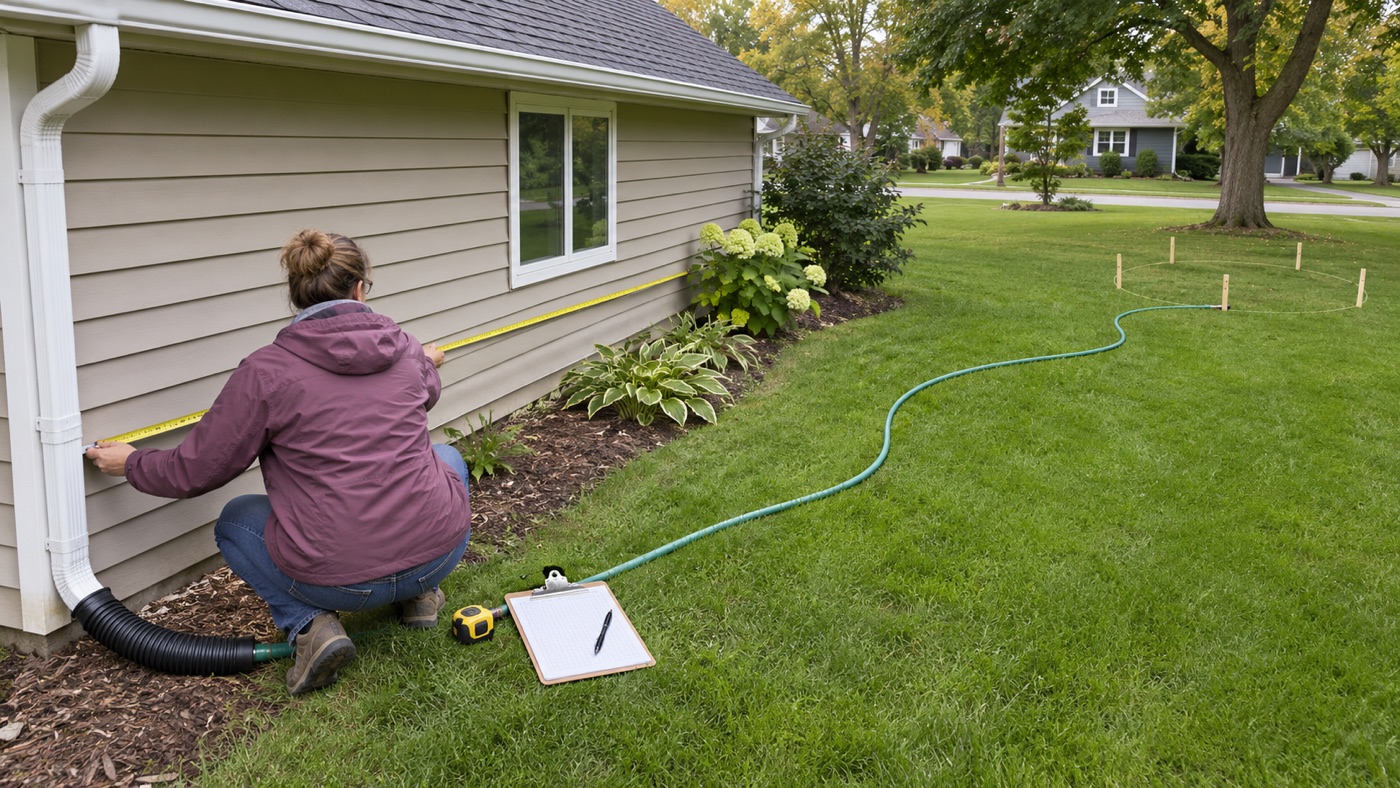
One inch of rain over one acre equals about 27,154 gallons, according to the U.S. Geological Survey. Scaled down, that is roughly 623 gallons per 1,000 square feet. A modest roof section can therefore produce hundreds of gallons during one storm.
Step 3: choose the design storm instead of guessing a percentage
The design storm is the rainfall depth the garden is intended to capture or treat before it overflows. EPA guidance uses 1 inch as a common example, but it also says to follow local criteria when available. Some communities use a different water-quality storm, require a specific calculator or regulate connections to a public storm system.
A rain garden does not have to contain every possible storm. It should handle its design event and pass larger events through a stable overflow. Pretending that an ordinary residential basin can retain a rare extreme storm may create a dangerously deep or impractically large feature.
| Planning level | Suitable use | What it cannot replace |
|---|---|---|
| Percentage rule | Early feasibility check when a trusted local manual supplies the percentage. | Local soil, drawdown and overflow review. |
| Storage-volume formula | Transparent homeowner estimate for a known roof area, storm depth and ponding depth. | Hydrologic modeling or jurisdiction-specific sizing. |
| Local worksheet or calculator | Preferred method when the municipality, Extension program or watershed district provides one. | Field verification of the actual site. |
| Professional design | Large drainage areas, slow soils, underdrains, walls, steep slopes, contaminated soil or nearby structures. | Permits and inspections required by the authority. |
Step 4: calculate the runoff volume
For a roof or other nearly impervious surface, the conservative screening equation is:
Runoff volume (cubic feet) = drainage area (square feet) × design rainfall (inches ÷ 12).
For a 600-square-foot roof section and a 1-inch storm:
600 × (1 ÷ 12) = 50 cubic feet of water.
Because one cubic foot contains about 7.48 gallons, that storm represents approximately 374 gallons. Real systems lose some water to wetting and gutter inefficiency, while wind and rainfall intensity also vary. However, using the full geometric volume is a simple, conservative starting point for a roof.
Do not automatically use the same equation for lawn or planted soil. Runoff from pervious areas depends on antecedent moisture, compaction, slope, vegetation and soil. Use the method specified by the local manual or professional model when those areas contribute materially.
Step 5: convert runoff volume into rain garden area
Next, divide the runoff volume by the level ponding depth:
Rain garden area (square feet) = runoff volume (cubic feet) ÷ ponding depth (feet).
For the same 600-square-foot roof and a 6-inch ponding depth:
50 cubic feet ÷ 0.5 feet = 100 square feet.
This is a storage-only screening calculation. It assumes no water infiltrates while rain is falling, but it also ignores storage in mulch, amended soil and gravel. More importantly, it does not prove that the native soil can empty the basin in time. Use the local sizing method for the final footprint.
| Impervious drainage area | 1-inch storm volume | Area at 4-inch ponding | Area at 6-inch ponding | Area at 8-inch ponding |
|---|---|---|---|---|
| 400 ft² | 33.3 ft³ / about 249 gal | 100 ft² | 67 ft² | 50 ft² |
| 600 ft² | 50.0 ft³ / about 374 gal | 150 ft² | 100 ft² | 75 ft² |
| 1,000 ft² | 83.3 ft³ / about 623 gal | 250 ft² | 167 ft² | 125 ft² |
| 1,500 ft² | 125.0 ft³ / about 935 gal | 375 ft² | 250 ft² | 188 ft² |
Deeper is not automatically better. A deeper basin requires more excavation, creates steeper grade transitions and may conflict with local ponding limits. The bottom must be level, and the ponding depth is measured to the controlled overflow elevation—not to the top of decorative mulch or the deepest hole.
Why local rain garden size factors differ from the simple formula
Local manuals often combine drainage area, ponding depth, soil texture, infiltration and distance from the downspout into a size factor:
Rain garden area = drainage area × local size factor.
For example, the Wisconsin Department of Natural Resources homeowner manual assigns different factors for sandy, silty and clayey soil and for ponding depths from 3 to 8 inches. Its factors for a 6- to 7-inch garden close to a downspout range from 0.13 in sandy soil to 0.35 in clayey soil. Applied to a 600-square-foot drainage area, those factors produce 78 to 210 square feet—far wider than one universal rule.
Those numbers belong to that manual and its assumptions. Do not import Wisconsin’s table into a desert city, coastal high-water-table site or municipality with its own stormwater standard. The lesson is that slower drainage generally requires more surface area, an engineered section, an underdrain or a different location.
Step 6: verify infiltration and required drawdown time
A sizing equation calculates storage; an infiltration test asks whether the soil can accept the water. Test at the planned bottom elevation, not only at the existing lawn surface. Compacted topsoil, buried construction debris and a restrictive lower layer can make a mapped soil series unreliable at one residential lot. Before amending slow soil, review our rain garden soil mix guide.
Published homeowner guidance uses different screening tests and drawdown limits. Penn State describes a 24-hour test, while University of Minnesota uses 48 hours. Some technical programs require more detailed infiltration rates or faster drawdown. Follow the authority that governs your project rather than averaging conflicting numbers.
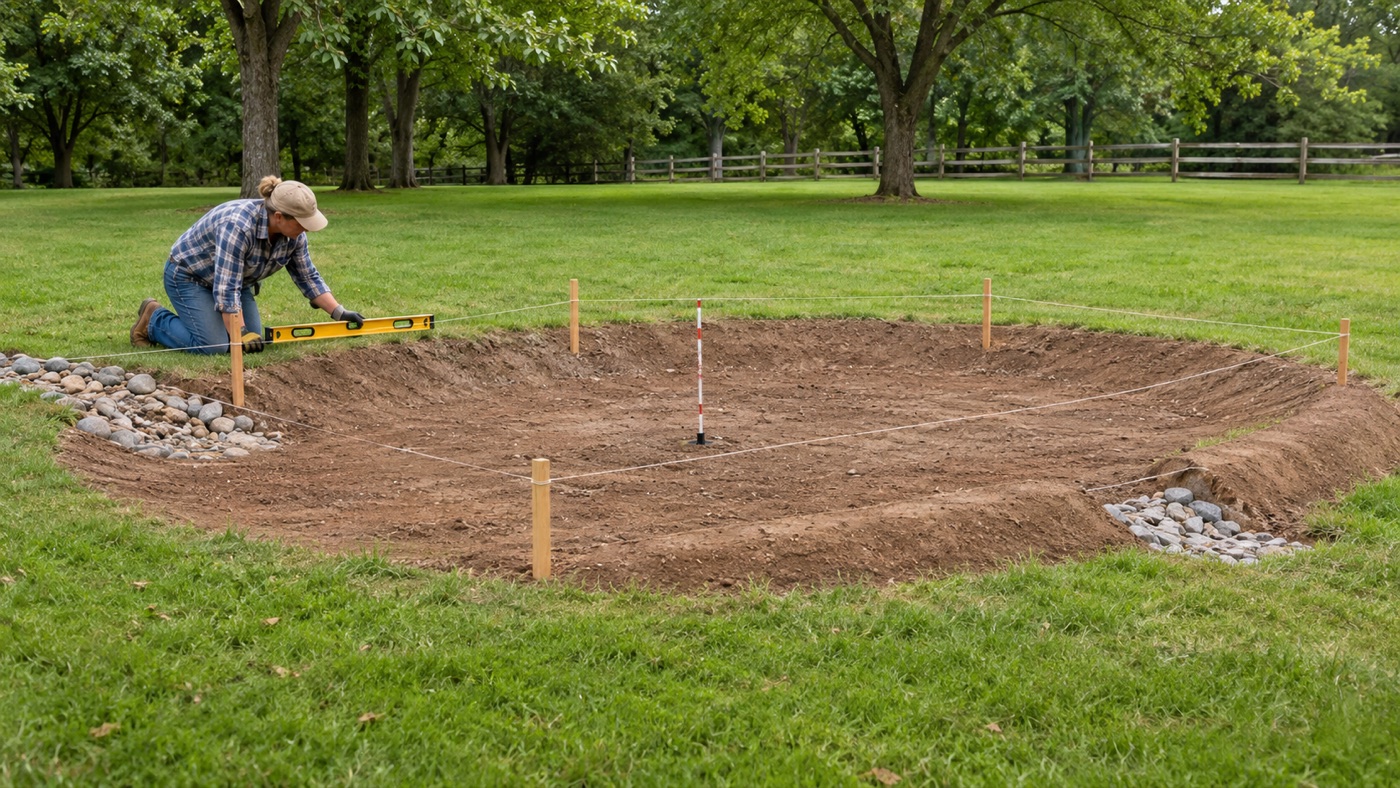
If the test fails, making the basin deeper is not a safe universal fix. Consider another location, split the drainage area, reduce the connected roof area or consult a qualified designer about amended media, a lined filtration system or an underdrain. Underdrains and connections to public drainage can trigger permits and technical requirements.
How to size a rain garden on a sloped yard
Measure the slope before choosing depth. The bottom of the ponding area must be level, so the uphill side is excavated while the downhill side receives a compacted berm. On a steep slope, the downhill berm becomes taller and failure sends concentrated water downslope.
Penn State advises that slopes greater than 10% are not ideal for a homeowner rain garden. Other manuals use different limits and setbacks from steep downgradient slopes. Do not build a tall retaining wall and call it a berm; walls, major fills and steep sites require appropriate design.
Long, shallow shapes laid across the contour often spread water better than a narrow pit. Keep side slopes gentle enough to plant and maintain, and make the overflow a deliberately lower, erosion-resistant point.
Two worked rain garden sizing examples
Example A: one residential downspout
- Roof footprint feeding the downspout: 30 × 20 feet = 600 square feet.
- Screening design storm: 1 inch, pending local confirmation.
- Runoff volume: 600 × 1/12 = 50 cubic feet.
- Planned ponding depth: 6 inches = 0.5 feet.
- Storage-only footprint: 50 ÷ 0.5 = 100 square feet.
A 10-by-10-foot level basin provides 100 square feet, but an 8-by-12.5-foot kidney or oval footprint provides the same approximate area. The final design must still pass the local infiltration, setback and overflow checks.
Example B: roof plus driveway
- Roof section: 700 square feet.
- Driveway section that truly drains toward the inlet: 300 square feet.
- Total impervious drainage area: 1,000 square feet.
- One-inch runoff volume: 1,000 × 1/12 = 83.3 cubic feet.
- At 6 inches ponding: 83.3 ÷ 0.5 = about 167 square feet.
However, driveway runoff brings more sediment and may contain deicing salt, oil or other contaminants. Confirm that the intended water is suitable for infiltration, add a stable pretreatment or sediment area where local guidance recommends it, and select salt-tolerant plants where necessary.
When one rain garden is too large
Several small basins can be safer and easier to fit than one large excavation. EPA guidance encourages distributing practices across smaller drainage areas, and some homeowner manuals recommend dividing gardens larger than roughly 300 square feet. The exact threshold is not universal.
Splitting the roof among two downspouts can:
- reduce the inlet velocity at each garden;
- fit around trees, utilities and existing paths;
- avoid a tall downhill berm;
- create separate sun and shade plant zones; and
- limit the consequences if one inlet clogs.
Each garden still needs its own drainage calculation and safe overflow. Do not divide only the planting footprint while routing the full storm to the first basin.
Common rain garden sizing mistakes
- Using the whole roof: count only the section connected to the chosen downspout.
- Using a national percentage as a permit standard: local rainfall, soil and criteria control the final size.
- Confusing excavation depth with ponding depth: storage exists only below the overflow elevation.
- Skipping the soil test: surface texture does not reveal every restrictive layer.
- Forgetting large storms: every basin needs a stable overflow that protects structures and neighbors.
- Placing it in an existing wet spot: persistent saturation can indicate groundwater, seepage or a restrictive soil layer.
- Assuming plants absorb the design storm instantly: size hydraulic storage first, then select rain garden plants by moisture zone.
- Connecting too much pavement: a residential basin has practical limits; split the drainage area or use qualified design.
Rain garden sizing worksheet
| Input | Your value | Check |
|---|---|---|
| Connected roof area | _____ ft² | Measure only the portion feeding the inlet. |
| Connected driveway/patio area | _____ ft² | Confirm slope and runoff quality. |
| Other contributing area | _____ ft² | Use the local runoff method for pervious surfaces. |
| Total design drainage area | _____ ft² | Add only connected sources. |
| Local design rainfall | _____ inches | Confirm with municipality or local manual. |
| Runoff volume | _____ ft³ | Area × rainfall inches ÷ 12 for impervious screening. |
| Proposed ponding depth | _____ ft | Measure to the overflow elevation. |
| Storage-only footprint | _____ ft² | Runoff volume ÷ ponding depth. |
| Local size-factor result | _____ ft² | Use this when local guidance provides one. |
| Required drawdown time | _____ hours | Verify through the approved infiltration method. |
| Overflow destination | _____ | Must be stable, lawful and away from damage. |
How to size a rain garden: frequently asked questions
What percentage of the roof should a rain garden be?
EPA and Extension guides often show ranges around 10% to 30% of the connected impervious area, but that is a screening range, not a universal rule. The correct percentage changes with design rainfall, ponding depth, soil, infiltration and local requirements.
How many gallons come off a 1,000-square-foot roof in one inch of rain?
The geometric volume is about 623 gallons. Actual captured runoff may be slightly lower, but the full volume is a useful conservative screening value.
Is a 6-inch-deep rain garden always enough?
No. Six inches is a common ponding depth in examples, not proof of capacity. The footprint, drainage area, storm depth, infiltration, side slopes, overflow and local criteria must all work together.
Can I make a rain garden smaller by digging it deeper?
The storage formula says deeper ponding reduces area, but practical and regulatory limits matter. Deeper basins can create steep sides, unsafe grade changes, tall berms and slower drawdown. Follow the local maximum ponding depth.
Should a rain garden drain in 24 or 48 hours?
Both numbers appear in reputable guidance because climates, soils and program requirements differ. Use the drawdown time required by the local authority or design manual. Persistent standing water means the design or site needs correction.
Does a rain garden need an overflow?
Yes. Storms larger than the design event, clogged inlets and saturated soil can fill the basin. The overflow must send water along a stable route that will not erode soil, cross a hazardous surface or damage structures or neighboring property.
Sources and further reading
- EPA: Soak Up the Rain—Rain Gardens
- EPA: Saving the Rain—Green Stormwater Solutions
- Penn State Extension: How to Make a Rain Garden
- University of Minnesota Extension: Building a Rain Garden
- Wisconsin DNR: Rain Garden Manual
- Oregon State University Extension: Rain Gardens—Low-Impact Development
- U.S. Geological Survey: Rain and Precipitation
Last reviewed: November 7, 2026. This article provides a homeowner planning method, not a site-specific engineering design. Confirm sizing, setbacks, utilities, drainage rights, permits, infiltration testing and overflow requirements with your municipality, watershed district, Cooperative Extension program and qualified local professionals before excavation.